This week has a focus on photography and so students were asked to iterate the imagined space model whilst considering and improving tis photogenics. Since the macro form had already been developed last week, I opted for a larger scale of 1:20 to allow for further detailing and more furniture, here's how I did it! Please bear with me whilst I attempt a more interactive version of my flipbook presentation, this one should hopefully describe all the steps with some key observations, please comment below on which style you prefer, and thank you in advance for any suggestions.
 |
| Just as before, thick carboard prevented neat cutting and folding. |
 |
| A sheet of fridge box was cut and had face profiles drawn. |


 |
| Using a Stanley knife the profiles were cut, leaving the faces exposed |
 |
| The exposed faces provided datum for drawing detailed interior features. |
 |
| Initial problems with profiling were allowed for a creative solution to this week's requirements which stated the mandatory addition of a light source, so I used a piece of cereal card to create the back wall and roof whilst implementing a stylish feature window. |
 |
| The window was neatly cut out since the cereal card was thinner than the cardboard, cling wrap was also applied to provide a realistic and transparent texture. |
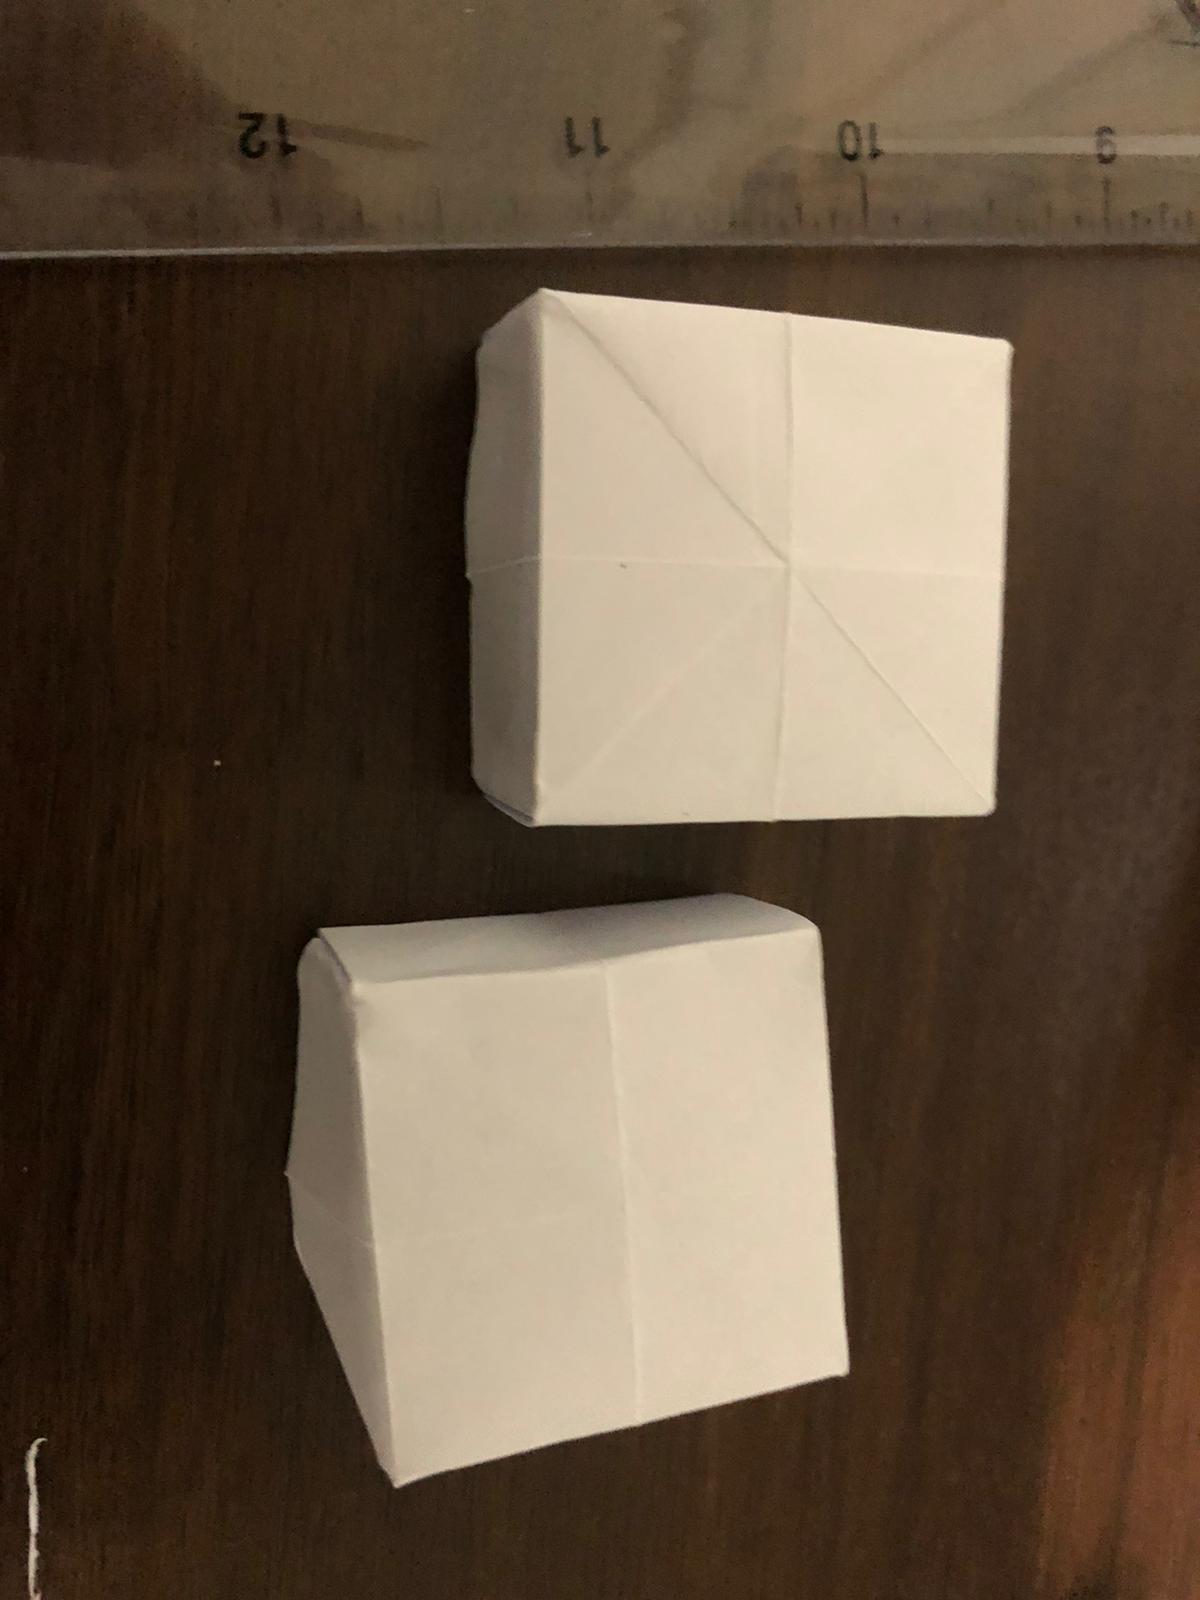
Part of the reason I chose this scale was due to its potential ability to incorporate furniture, whilst lots of different furniture was made, many involved iterations of the basic folding techniques used below. Unfortunately, I would struggle to convey these with enough instructive precsion I'd rather not impede your time-lapse with redundant commentary and let the folding speak for itself, listen closely...




The resultant model was assembled more than made wholistically, furniture from the 1:10 model from last week was also added to help meaningfully define the space and create awareness as to the importance of secondary spaces as a wholistic attitude towards my ideal wok space. Whilst seemingly simple this embodies the interconnectedness and busyness of a potential life, one in which work becomes inseparable from one's life without life seeming just like work. It emphasizes the importance of light within all spaces and seems a more realistic (especially given the housing market!) projection of an imagined ideal work space. Its location is left variable, perhaps somewhere calm amongst watching the waves or maybe even as a modular attachment to a quaint addition to a comfortable home space in which, I can envision my habitation to be ideal or even imaginary.

Comments
Post a Comment